To be perfectly honest, we didn't accomplish absolutely everything we set out to. First, my husband got sick. Fun. Then, he gave it to me. Then, my daughter came down with and just as she was getting well, she gave it back to me. If there's one thing our family knows how to do it's share. Unfortunately, the floor isn't finished. It is however, ready for the underlayment and install which should (knock on wood) go reasonably quickly since we're using peel and stick tiles. But in the spirit of the Imagine the Impossibilities Challenge, we did push ourselves and I am so pleased with all that we got accomplished, even if we were passing our germs back and forth during.
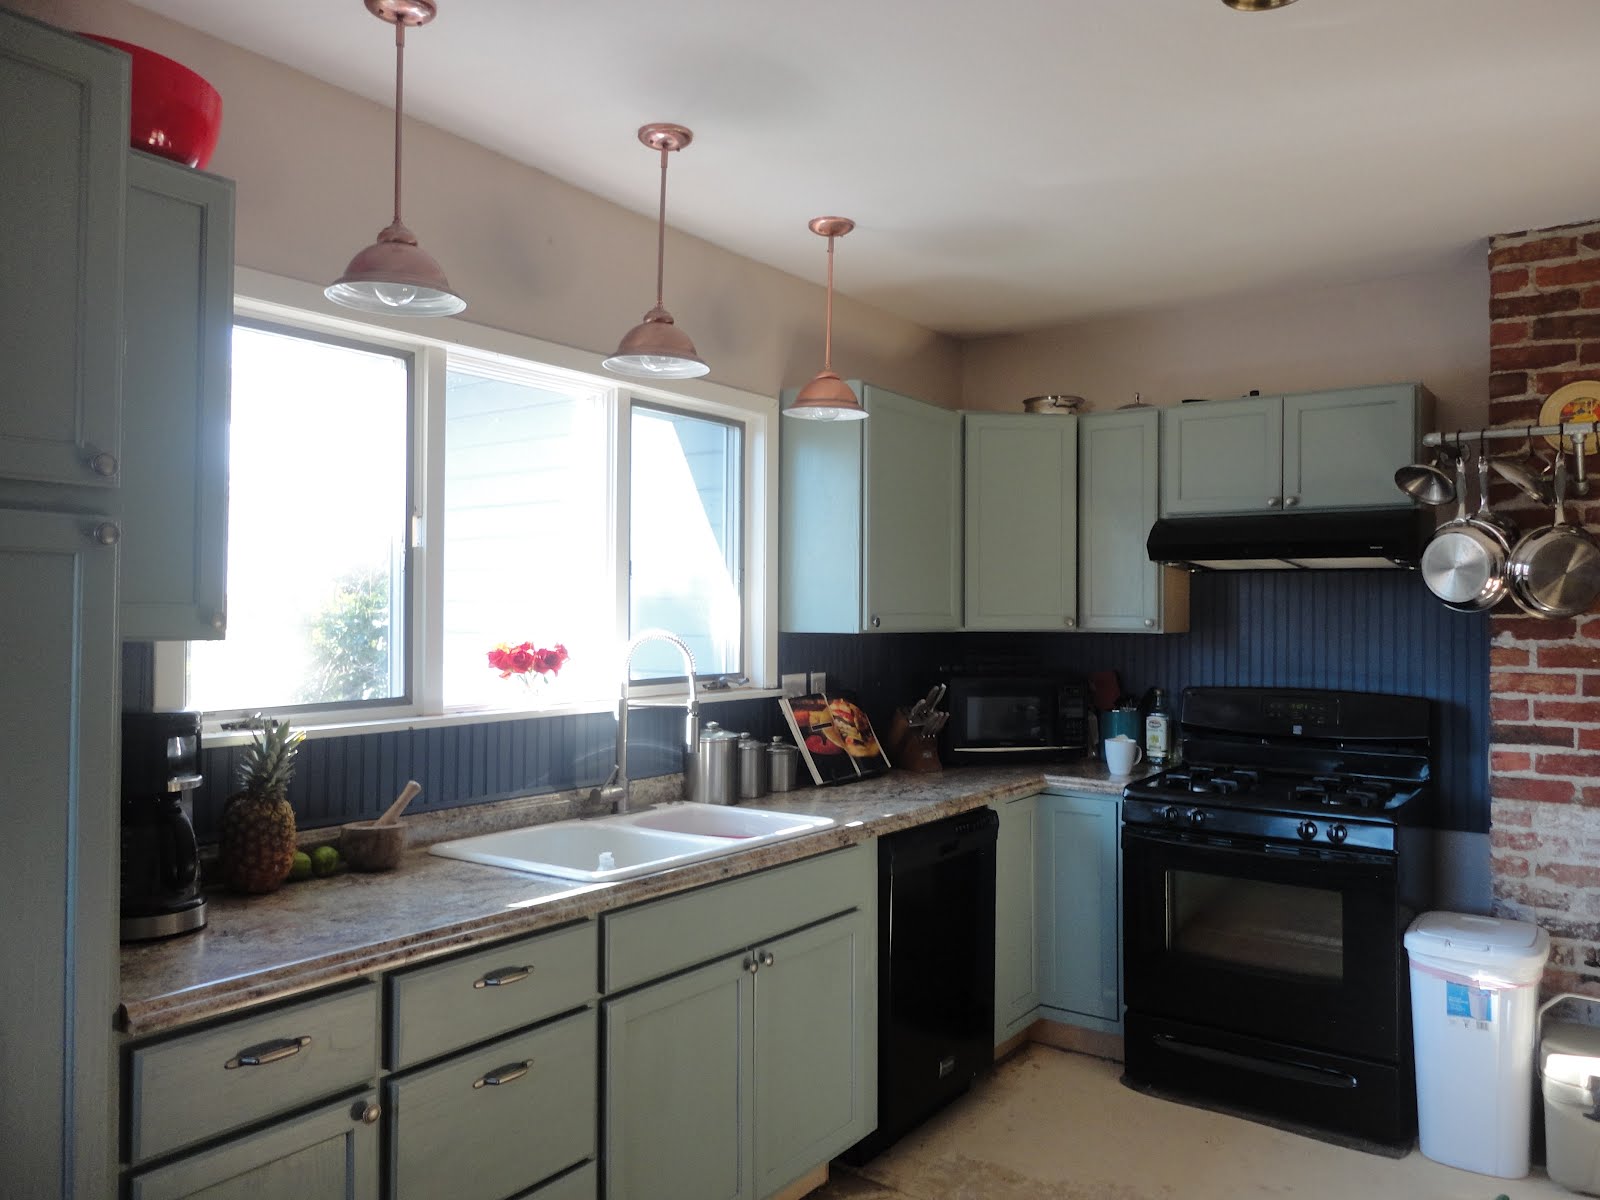
TaaaDaaa! Here is our new and lovely kitchen:
We've come such a long way. Here's a little trip down memory lane for you:
Sorry for the blur. The pics were actually taken by our realtor several years ago and the resolution just isn't there. The area to the right of the brick column now houses the refrigerator, but other than that, we kept most of the floor plan the same.
The existing cabinets were really in sad shape, so when Home Depot put their unfinished cabinets on sale for 20% off, we were all over it. We stacked them in one corner and started dismantling the kitchen. The goofy strip my husband is peeling off was a very retro back splash. So glad it's gone now!
We had the unfinished cabinets in and most of the counter tops on by late Christmas Eve. Unfortunately, we had the mess you see on the floor and guest coming over the following day for Christmas dinner. Oops?
Because my husband is a complete perfectionist, he made his own veneer, then glued and clamped it on overnight.
After all that, it was finally time to stain the cabinets, which was my department. We used Rustoleum Cabinet Transformations in Meadow. It was a lot less messy then varnish and looks so much better than regular paint. You can read my review
here if you're thinking of using it.
I set up a makeshift paint booth and deglossed everything first, which did a great job of really opening up the grain. The bond coat application went on really easily and quickly. The pictures here make the color look a bit on the minty side, but it's really more of a creamy sage green.
Here's the finished product with hardware, also from Home Depot.
We installed the vent hood and man, it is so nice to have one of those again!
We created a simple and inexpensive back splash out of beadboard. We painted it with Glidden's Blue Grey Slate. I actually got the paint for free when Glidden was doing a FB giveaway, so that made it even better. I'll go through the process of installing the beadboard at a later date, but this post is getting long-winded already :) How about another before&after to wrap thing up?


Ahhh. Ever so much better. Again, I do apologize that the pictures are what they are but unfortunately this is the Pacific Northwest in January and any natural light that manages to filter in is grey and minimal.
Linking with:

Please go check out their projects and leave them some kind words...I'm on my way to do that right now!


