But... I'm really not big on putting hollow-core interior doors in an old house. They just look too new. However, we have these really old, solid wood interior doors that came with the house, so I feel like they deserve to be salvaged. Even if it kills me. Which it might. They were coated in 5 separate layers of paint, some latex, some oil. Actually, that was the easy side of the door; the reverse had no less than 8 distinct coats. So, we used this stuff on the advice of a nice man at Lowes:
 |
| thanks, home depot, for the pic |
You can actually use this stuff inside. It's safe enough that with proper protective equipment (goggles, gloves, mask) even pregnant people can use it! So, I brushed the stuff on, waited, and scraped a couple of layers of paint off with a dinky little plastic scraper.
Repeated. Repeated again, this time using a professional scraper with a razor blade on the business end. Attempted to use my Black and Decker Mouse Sander (the one that husband affectionately refers to as the "little woman sander") to get the rest of the crud off. Which worked about as well as just asking it politely to remove itself from my door. The next day, I was gifted with a DeWalt orbit sander, which I think means that he felt guilty for buying himself a new 18 volt lithium drill. Whatever. The orbit sander didn't get all of it, though. We wound up buying these Gator attachments for our old corded drill. They look like brillo pads on steroids and are labeled "for aggressive paint removal."
 |
| photo credit: the home depot |
They got the remaining paint off, albeit very slowly, and they certainly weren't gentle on the wood. Then, I finally got smart and swiped the husband's belt sander. Ever used one of those? For a tiny chick, it's like walking a dog that outweighs you by 90 pounds, knowing full well that you are the one getting walked.
To recap, we used:
- Citristrip (multiple coats)
- A plastic scraper
- A metal scraper
- A mouse sander, with no less than 3 different grits of sandpaper
- An orbit sander with 2 different grits of sandpaper
- A "paint eater" drill attachment
- A belt sander
 |
| Ok, so it doesn't look that bad, but really, the paint is dingy white and peeling. |


And the finished product, hung in our baby's room:
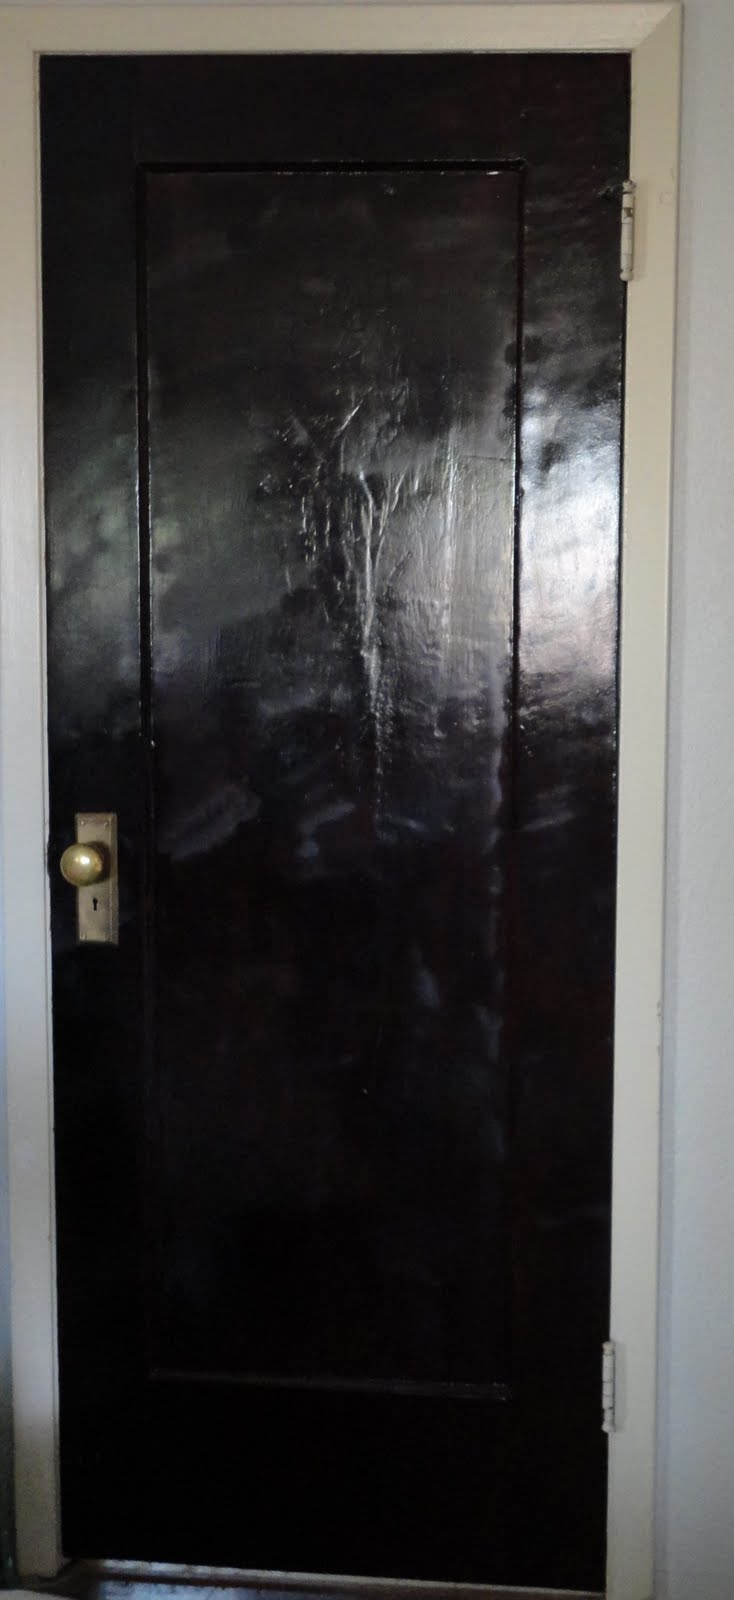 |
| Ugh. It's soo shiny. And you can see every little line the belt sander made. |
No comments:
Post a Comment